We make no compromises when it comes to quality assurance. Our state-of-the-art machines form the backbone of our endeavours to provide you with products of the highest quality. We do everything we can to exceed your expectations and increase confidence in our products. Quality is our top priority.
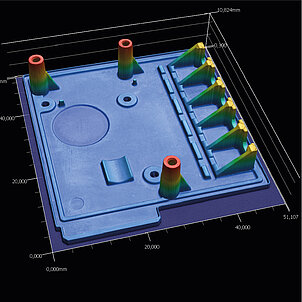
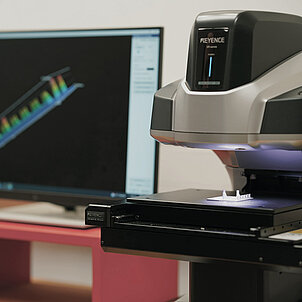
Our 3D profile analyser is at the centre of our quality control and is a key tool in our machine park. As a state-of-the-art optical measuring system, it relies on a non-contact inspection process that makes it possible to capture even the intricate and complex geometries of fasteners. The combination of intense light sources and precise sensors enables surfaces and contours to be analysed in detail and in real time. This process not only ensures the integrity and consistency of our products, but also safeguards our incoming goods process. Customers and suppliers can be confident that by using the 3D profile analyser, every product that leaves our factory meets the highest quality standards. It is this commitment to excellence that characterises us as a leading distributor of stainless steel fasteners.

The shadow projector is an essential tool in our state-of-the-art machine park and epitomises precision in measurement technology. This device works on the principle of optical shadow measurement. The object to be measured is placed between a light source and a screen. The shadow image of the object is then projected onto the screen and visualised in an enlarged version. This magnification allows even the smallest deviations and details to be analysed precisely. The shadow measurement process is particularly valuable for complex and delicate components, as it enables a quick and precise check. Thanks to the shadow projector, we are able to consistently maintain our quality standards and test our stainless steel fasteners to the highest level.

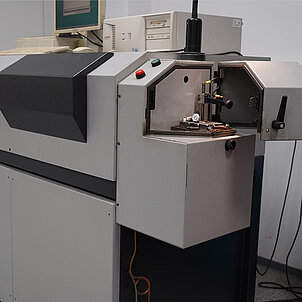
The light mass spectrometer is an essential pillar in our technological machinery. This device is used to precisely analyse materials by applying spectroscopic techniques. It utilises a principle whereby elements emit characteristic light frequencies when excited. The light mass spectrometer records and analyses these frequencies in order to determine a detailed material composition. This enables us to check the exact properties of our stainless steel fasteners and ensure that they meet the defined specifications. By using the light mass spectrometer, we can guarantee both the purity and quality of our products and thus offer our customers and suppliers the highest level of confidence in our products.
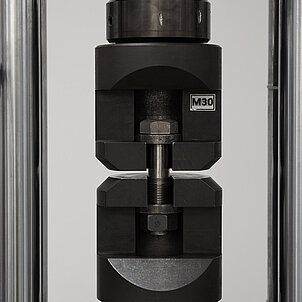
The tensile testing machine for screws plays a central role in our quality control process. This device allows us to test the tensile strength and mechanical properties of our stainless steel fasteners. By applying specific tensile forces to the screws, they are loaded until they break. This test provides us with valuable information about the load-bearing capacity and quality of our products. The data obtained helps us to continuously monitor and optimise our production standards. Thanks to these test procedures, we can ensure that our screws can withstand even the highest stresses and fulfil or even exceed the expectations of our customers and suppliers.
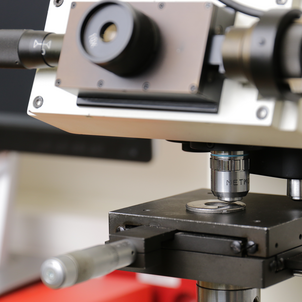
In addition to many other important machines, our portfolio also includes the small load tester. This device allows us to measure the hardness of our stainless steel fasteners with high precision, especially when it comes to fine or thin samples. It works by applying a defined load to a small area of the material to be tested and then measuring the resulting indentation depth. This method allows the hardness to be accurately determined and provides information about the quality and durability of the material. By using the small load hardness tester, we can ensure that our products offer the desired quality and durability. It emphasises our commitment to offering fasteners of the highest quality.